Did you know that over 70% of cane chair owners toss their broken chairs instead of repairing them? That’s a staggering statistic considering how simple and inexpensive it can be to restore these beautiful pieces to their former glory.
If you have a broken cane chair gathering dust or have always wanted to bring a touch of elegance to your home, this DIY cane chair repair guide is just what you need.
With a few basic tools and some easy steps, you can learn how to repair cane chair seats and create a stunning statement piece for your living space.
Whether you’ve found a gem at a thrift store or have a beloved family heirloom with a broken seat, don’t let them go to waste.
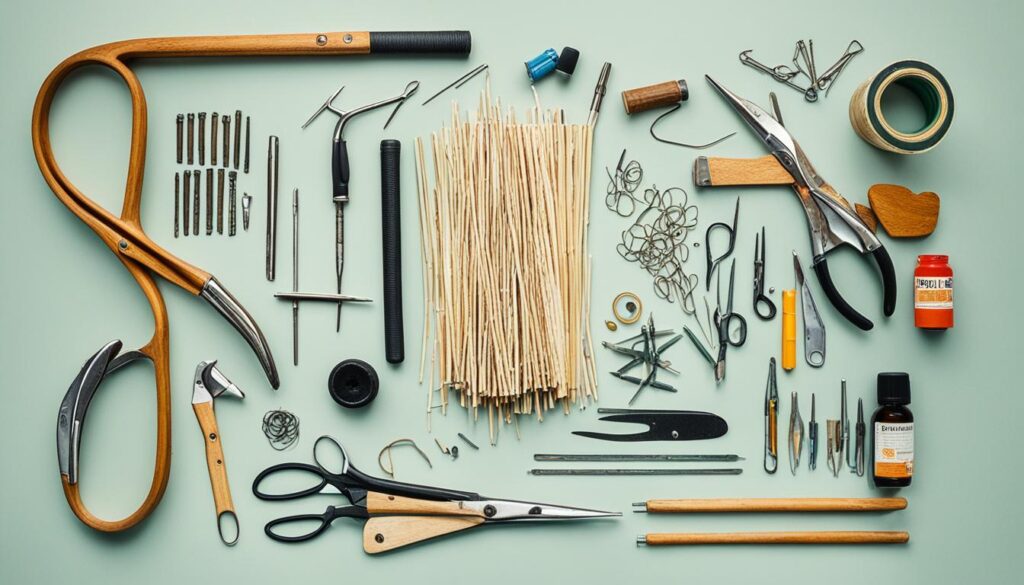
The process is straightforward and requires commonly available materials such as burlap upholstery webbing, a staple gun, hammer, heavy-duty scissors, and an extra set of hands.
By following our detailed instructions, you can easily fix a broken cane chair and enjoy its charm for years to come.
The Easy Process of Repairing a Broken Cane Chair
Repairing a broken cane chair doesn’t have to be complicated. With a few simple tools and techniques, you can easily fix a broken cane chair and save money on professional repairs.
The first step in the process is to remove the old cane seat. Use a utility knife or other sharp tool to carefully cut away the cane from the frame of the chair. Be cautious not to damage the chair frame during this step.
After removing the old seat, cut a new seat from thin plywood. Measure the dimensions of the seat frame and cut the plywood accordingly. Sand the edges of the plywood to ensure a smooth surface.
Next, add foam padding to provide comfort to the seat. Cut a piece of foam cushioning to fit the dimensions of the plywood seat. Secure the foam to the plywood using adhesive or a staple gun.
Once the foam padding is in place, cover the seat with fabric of your choice. Make sure the fabric is durable and suitable for upholstery. Pull the fabric taut over the foam and plywood, and staple it to the underside of the seat.
Now that the new seat is complete, you can paint the chair frame to give it a fresh look. Choose a paint color that complements your décor.
Before painting, it’s important to prime the cane to ensure the paint adheres properly. Use a primer specifically designed for use on cane.
To add a polished finish to the seat, consider adding trim to the front edge. Measure the front edge of the seat and cut the trim to size. Attach the trim using adhesive or small nails.

By following these simple steps, you can refurbish a broken cane chair on your own. Not only will you save money, but you’ll also have the satisfaction of restoring a beautiful piece of furniture. Give your cane chair a new lease on life with this easy repair process.
Tips and Tricks for a Successful Cane Chair Repair
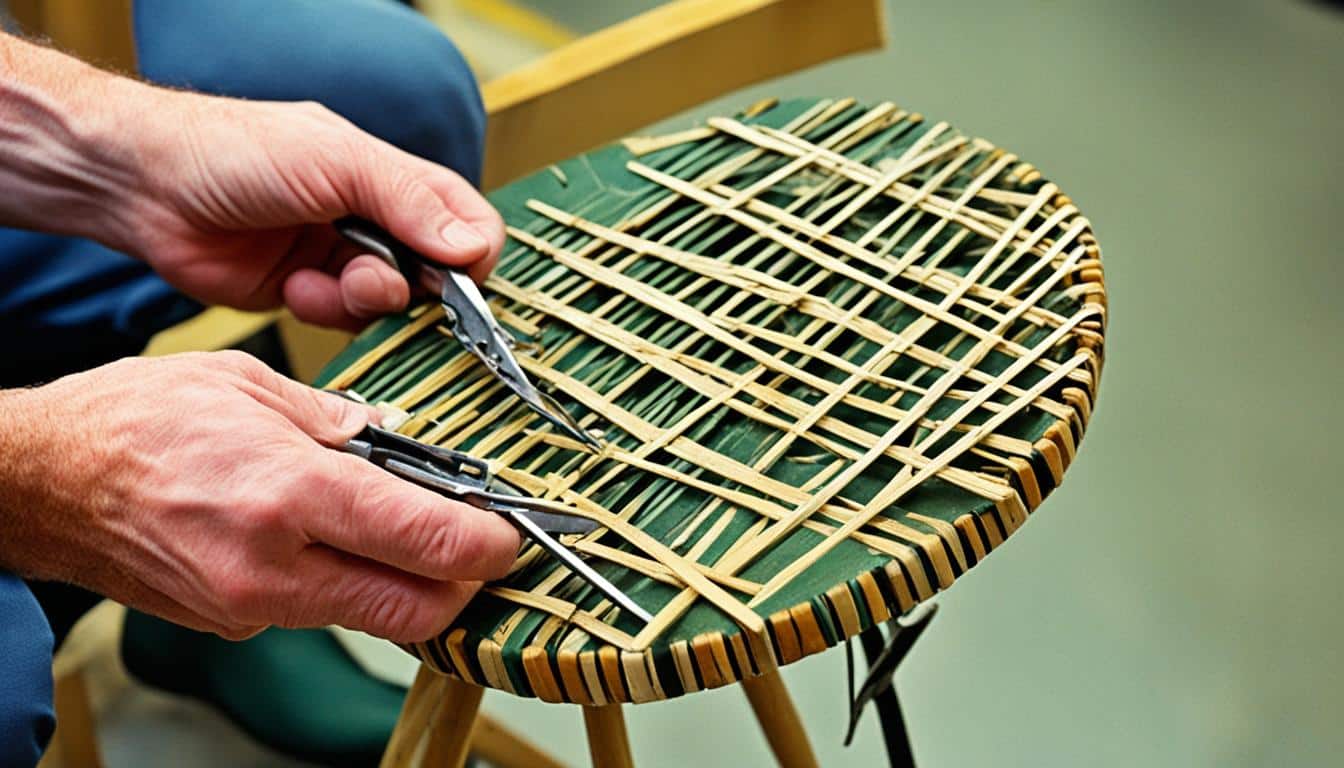
Repairing a woven cane chair requires some specific techniques to ensure a successful outcome. When replacing the cane seat, it’s important to soak the new seat in lukewarm water to make it more pliable.
By doing so, the cane becomes easier to work with and is less likely to break during the repair process.
Once the cane seat is soaked, aligning it properly and pressing it into the groove with the wooden wedges is crucial. This creates a secure attachment and ensures that the seat will be sturdy and durable.
Be sure to trim any excess cane and apply wood glue to the groove before inserting the new spline. This will guarantee a tight fit and prevent any loose or wobbly sections on the seat.
After completing the repair, it’s essential to allow the repaired chair to dry for a full 24 hours before using it. This drying period allows the cane to set properly and ensures the longevity of the repair.
Once the drying time is over, you can enjoy your expertly repaired cane chair for years to come, with the confidence that it will withstand regular use.
FAQ
How Difficult Is It To Repair A Cane Chair?
Repairing a cane chair can be a simple and inexpensive DIY project. With the right tools and materials, it can be relatively easy to fix a broken cane chair.
What Tools Do I Need To Repair A Cane Chair?
To repair a cane chair, you will need burlap upholstery webbing, a staple gun, hammer, heavy-duty scissors, and an extra set of hands.
Can I Add A Cushion To A Repaired Cane Chair Seat?
Yes, once you have repaired the cane chair, you can add a cushion or pillow to give it a finished look and added comfort.
Can I Paint A Repaired Cane Chair?
Yes, you can paint the chair after repairing it to give it a fresh look. It’s important to prime the cane before painting to ensure the paint adheres properly.
How Can I Repair A Woven Cane Chair?
When repairing a woven cane chair, you will need to soak the new seat in lukewarm water to make it more pliable.
Aligning the cane and pressing it into the groove with wooden wedges, trimming any excess cane, and applying wood glue to the groove will create a secure attachment.
How Long Should I Allow The Repaired Cane Chair To Dry?
It is crucial to let the repaired cane chair dry for 24 hours before using it to allow the cane to set properly.


