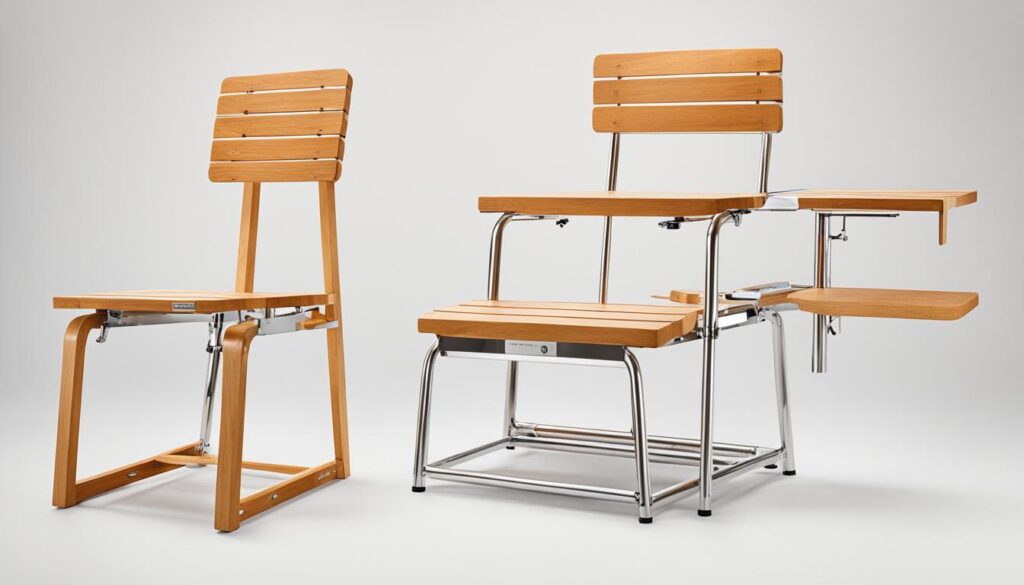
According to statistics, lifeguards in the United States prevent an estimated 4,000 to 5,000 drownings each year. These dedicated professionals keep a watchful eye on swimmers, provide timely assistance, and ensure that everyone enjoys the water safely.
Building your own lifeguard chair not only allows you to contribute to water safety but also provides a rewarding DIY project.
In this DIY Guide: How to Build a Lifeguard Chair, I’ll walk you through step-by-step instructions, tips, and materials needed to construct a sturdy and functional lifeguard chair.
Step 1: Prepping the Lumber
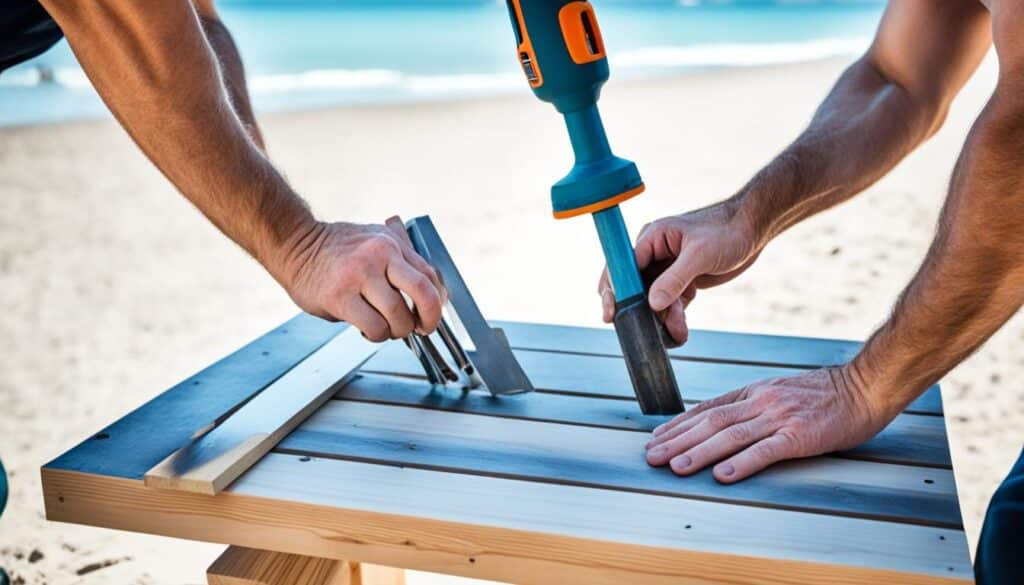
Before we can begin building our lifeguard chair, it’s important to properly prep the lumber. This involves selecting the right boards, sanding them to remove any dirt or debris, and cutting them to the appropriate dimensions. Let’s dive into the details of this crucial first step.
Selecting the Right Boards
Start by choosing high-quality lumber that is suitable for outdoor use. Look for materials that are resistant to weathering and insect damage. Cedar and pressure-treated pine are popular choices for lifeguard chair construction due to their durability and natural resistance to decay.
Sanding the Wood
To ensure a smooth and splinter-free finish, it’s essential to sand the boards before assembling the chair. Use a medium-grit sandpaper to remove any rough spots or imperfections. Pay special attention to the edges and corners, as these areas tend to be sharper.
Cutting the Boards
Measure and mark the dimensions for each component of the lifeguard chair, including the legs, backrest, seat, footrest, and armrests. Use a saw to carefully cut the boards according to your measurements.
Double-check the accuracy of each cut to ensure proper fit during assembly.
By prepping the lumber correctly, we create a solid foundation for constructing our lifeguard chair. In the next section, we will move on to assembling the backrest.
Step 2: Assemble the Backrest
The backrest is an essential element of your lifeguard chair, providing stability and support for the lifeguard. Follow these step-by-step instructions to assemble the backrest and ensure a comfortable seating experience.
Backrest Materials:
Before you begin, gather the following materials:
- Back slat
- Top piece
- Pilot hole drill bit
- Screws

1. Attach the Top Piece: Start by positioning the top piece horizontally on the backrest’s vertical slats. Use the pilot hole drill bit to create guide holes through the top piece and into the slats. This will prevent the wood from splitting. Then, secure the top piece onto the backrest with screws, ensuring a tight fit.
2. Drill Pilot Holes: Once the top piece is attached, drill pilot holes through the remaining slats to prepare for the next step. Pilot holes will make it easier to insert the screws and prevent the wood from splitting.
3. Attach the Back Slat: Place the back slat onto the backrest, ensuring that it aligns with the vertical slats. Drill pilot holes through the slat and secure it to the vertical slats using screws. This will provide additional stability and strength to the backrest.
4. Sand the Backrest: To create a smooth and splinter-free surface, use sandpaper to sand the entire backrest. Focus on rounding off any sharp edges or corners to enhance comfort.
By following these steps, you will successfully assemble the backrest of your lifeguard chair. Move on to the next section to continue building your lifeguard chair.
Step 3: Assemble the Seat
The seat of the lifeguard chair is where the lifeguard will spend most of their time. It’s crucial to ensure that the seat is both stable and comfortable. To assemble the seat, follow these step-by-step instructions:
- Cut the necessary rabbets on the seat supports using a saw, making sure they fit snugly with the seat slats.
- Drill pilot holes into the seat supports where the slats will be attached. This will prevent the wood from splitting when the screws are inserted.
- Place the seat slats onto the seat supports, aligning them evenly. Ensure that the slats are flush with the front and back edges of the supports.
- Use screws to securely attach the seat slats to the seat supports through the pre-drilled holes.
- Once the slats are attached, sand the entire seat surface to make it smooth and splinter-free. Pay extra attention to the edges and corners.
By following these instructions and using the appropriate seat materials, such as sturdy wood or composite boards, you can assemble a seat that not only provides stability but also ensures the lifeguard’s comfort throughout their shift.
Remember to take your time and double-check your measurements to achieve the best results.
Step 4: Assemble the Footrest
The footrest is an essential part of the lifeguard chair, providing additional comfort and support to the lifeguard during long hours on duty. Follow these steps to assemble the footrest:
Cutting the Footrest Angles
Start by measuring and marking the angles for the footrest on your chosen footrest materials. Use a miter saw or a circular saw to cut the angles precisely according to your measurements. Ensure clean and accurate cuts for a proper fit.
Drilling Pilot Holes
Next, use a drill with the appropriate drill bit to create pilot holes in the footrest pieces. These pilot holes will help prevent the wood from splitting when you attach the slats later on. Space the pilot holes evenly along the footrest pieces for optimal stability.
Attaching the Footrest Slats
Now, it’s time to attach the footrest slats to the footrest frame. Apply wood glue to the ends of the slats and position them evenly on the frame. Use screws or nails to secure the slats in place, ensuring a strong and secure attachment. Make sure to countersink the screws or nails for a flush finish.
Remember to use proper safety precautions, such as wearing protective eyewear and gloves, when handling tools and materials.

Step 5: Assemble the Armrests
The armrests play a crucial role in providing additional comfort and support for the lifeguard while on duty. Follow these instructions to assemble the armrests of your lifeguard chair:
Cutting the Semicircle Shape
To create the semicircular shape of the armrests, start by marking the center point of the armrest board using a pencil. Then, use a compass or a circular template to draw a semicircle with a desired radius. Ensure the semicircle is symmetrical and centered on the board.
Next, carefully cut along the marked semicircle line using a jigsaw or a coping saw. Take your time to make precise cuts and follow the line closely. Once the semicircle is cut, sand the edges of the armrests using sandpaper to smoothen them.
Making the Cuts
Now, it’s time to make the necessary cuts on the armrests to ensure they fit seamlessly with the rest of the lifeguard chair. Measure and mark the locations where the armrests will attach to the backrest and the seat.
Using a circular saw or a handsaw, carefully cut along the marked lines to create notches that will accommodate the backrest and seat. Double-check the measurements before making the cuts to ensure accuracy.
After making the cuts, use sandpaper to smooth out any rough edges and ensure a perfect fit.
By following these instructions, you will be able to assemble sturdy and comfortable armrests for your lifeguard chair. The next step will guide you on how to prep the remaining parts before final assembly.
Step 6: Prep Remaining Parts
In this final step, I will guide you through the process of prepping the remaining parts of your lifeguard chair. This includes cutting the legs and cross members to the appropriate dimensions, ensuring that everything is ready for assembly.
To begin, measure and mark the correct lengths for the legs. Use a saw to carefully cut the legs to size, ensuring that each leg is identical in length. Take your time to make accurate cuts, as this will contribute to the stability and balance of your lifeguard chair.
Next, it’s time to cut the cross members. Measure and mark the appropriate lengths for the cross members, taking into account the specific dimensions of your lifeguard chair design. Use a saw to cut the cross members according to your markings, ensuring clean and precise cuts.
Once you have cut the legs and cross members, take a moment to double-check that all parts are properly aligned and ready for assembly. Make any necessary adjustments to ensure that the legs and cross members fit together seamlessly.
Remember, attention to detail at this stage will result in a sturdy and stable lifeguard chair.
FAQs
How Difficult Is It To Build A Lifeguard Chair?
Building a lifeguard chair can vary in difficulty depending on your woodworking skills and experience. However, with the right tools, materials, and instructions, even a beginner can successfully build a lifeguard chair.
What Materials Do I Need To Build A Lifeguard Chair?
To build a lifeguard chair, you will need lumber, screws, wood glue, sandpaper, a saw, drill, and other basic woodworking tools. The specific materials and quantities required will depend on the lifeguard chair plans you are following.
Where Can I Find Lifeguard Chair Plans?
There are various online sources where you can find lifeguard chair plans, including websites, woodworking forums, and DIY magazines. You can also consider purchasing lifeguard chair plans from reputable woodworking retailers.
Can I Customize The Design Of My Lifeguard Chair?
Absolutely! Lifeguard chair plans serve as a starting point, but you can personalize your design by adding your own creative touches. You can choose different wood types, add unique accents, and even modify the dimensions of the chair to suit your preferences.
How Long Does It Take To Build A Lifeguard Chair?
The time it takes to build a lifeguard chair can vary depending on your skill level, the complexity of the design, and the availability of tools and materials.
On average, it can take anywhere from a few days to a couple of weeks to complete a lifeguard chair project.
Can I Paint Or Stain My Lifeguard Chair?
Yes, you can paint or stain your lifeguard chair to protect the wood and enhance its appearance. Before applying any finish, make sure to sand the chair to create a smooth surface. If staining, consider using a wood conditioner first to ensure an even finish.


