Have you ever wondered how to bind a latch hook rug? Whether you’re a seasoned latch hook enthusiast or just starting out, the process of finishing your rug with a polished edge can be a challenge.
But fear not! In this step-by-step guide, I’ll walk you through the techniques and methods to ensure your latch hook rug has a sturdy and beautiful finish.
Key Takeaways:
- Learn how to prepare your latch hook project for binding by creating a clean edge and steaming the rug for a smooth finish.
- Discover various binding techniques, such as whip stitching, to secure the edges of your latch hook rug.
- Find out how to add the finishing touches to your rug, including trimming excess yarn for a neat appearance.
- Understand the importance of proper care and storage to ensure your latch hook rug lasts for years to come.
- By following this step-by-step guide, you’ll be able to create a professional-looking edge for your latch hook rugs.
Preparing Your Latch Hook Project for Binding
Before you can start binding your latch hook rug, it’s important to properly prepare it to ensure a clean and secure edge. Taking the time to complete these steps will help you achieve professional-looking results. Here are some tips to get you started:
Trimming Excess Backing
Begin by measuring and marking the desired width of your rug’s edge. You can use a ruler or tape measure to ensure accuracy. Once marked, make small clips along the line to create guide points for cutting.
Using a sharp pair of scissors, carefully cut away the excess backing along the marked edge. Take your time to ensure clean and even cuts. Trimming away the excess backing will create a neat and tidy edge for binding.
Trimming Corners
In order to reduce bulk and create smooth corners, it may be necessary to trim them at an angle. This will help prevent any bunching or unevenness in the finished rug. Take care to trim the corners evenly and at the same angle for a polished look.

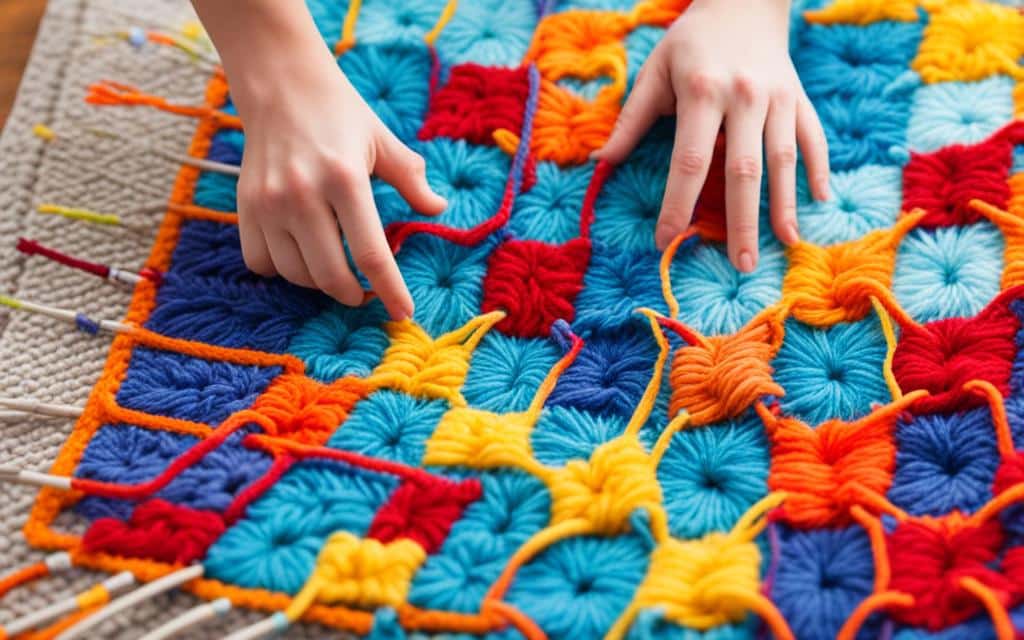
Note: The image above provides a visual reference for trimming corners and preparing the rug for binding.
Steaming and Pressing
After trimming the edges, it’s important to steam the rug to help it lay flat and minimize any humped up areas. This can be done using a handheld steam iron or a steamer. Gently apply steam to the rug, then use your hands or a weight to press down any raised areas.
Steaming and pressing the rug will ensure a smooth and even surface, making it easier to bind the edges securely.
Once you’ve completed these steps, your latch hook rug will be ready for binding. In the next section, we’ll explore various techniques you can use to secure the edges and create a finished look.
Binding Techniques for Latch Hook Rugs
When it comes to finishing the edges of your latch hook rug, there are various techniques you can use. One popular method is the whip stitch, which provides a secure and visually appealing border.
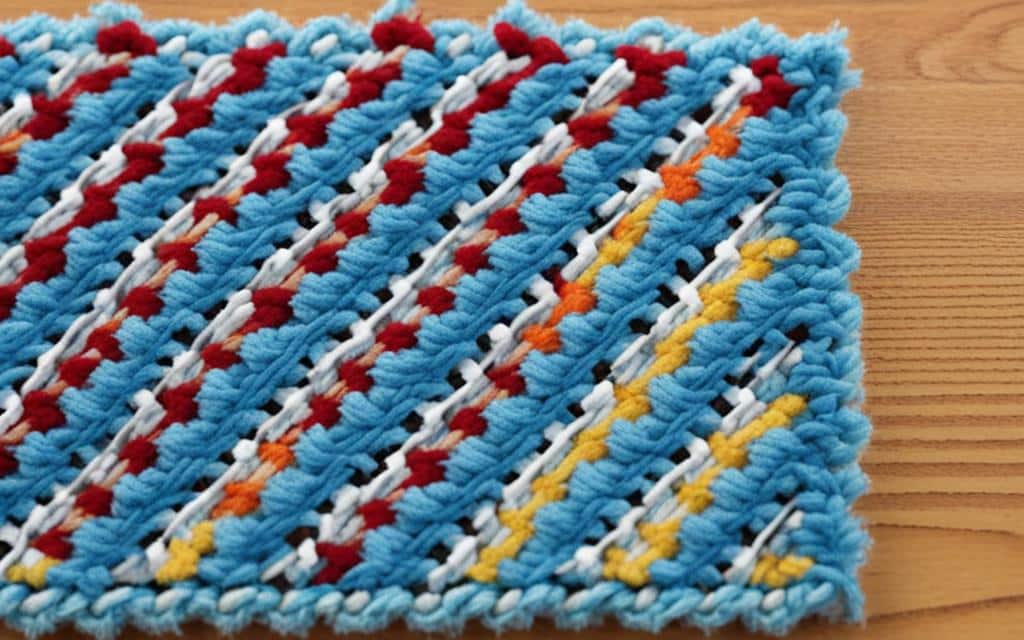
To execute the whip stitch, you’ll need a tapestry needle and yarn or strong thread that complements the color of your rug. Start at one corner of the rug’s edge and sew through both layers of canvas, drawing the thread through to create a loop. Repeat this process along the entire edge, making sure to maintain consistent tension.
For square edges, you can use the grid of the rug canvas as a guide to achieve evenly spaced stitches. This approach not only ensures a clean and professional look but also enhances the rug’s flexibility and durability.
Alternative Techniques
While the whip stitch is a widely used method, there are other techniques you can explore to achieve different effects. Some latch hook enthusiasts prefer using a blanket stitch or a running stitch for a decorative touch or to accommodate thicker yarns. These techniques can add texture and dimension to the edge of your rug, making it a distinctive piece.
Regardless of the technique you choose, it’s important to take your time and pay attention to detail to ensure a polished finish for your rug. Remember to practice on a scrap piece of canvas before applying the technique to your main project, especially if you’re trying a new method.
Finishing Touches and Care Tips
Once the edges of your latch hook rug are securely bound, it’s time to add the finishing touches to give your creation a polished, professional look. One important step is to carefully trim any excess yarn that may be sticking out. You can choose to trim the yarn evenly for a neat and tidy finish, or for a shaggy or textured effect, leave some strands slightly longer. This allows you to customize the appearance of your rug to match your personal style.
After completing the trimming process, it’s crucial to allow your finished rug to dry completely before storing it. This ensures that any moisture retained in the fibers or backing is completely evaporated.
Ideally, you should give it at least 24 hours to fully dry. To prevent any stress or folding, it’s recommended to roll your rug up right side out when storing it. This helps maintain its shape and prevents any unwanted creases.
If you notice any wrinkles or humped up areas on your rug after it has dried, you have the option to press it once again. Gently apply an iron on a low heat setting to smooth out these imperfections. Be careful not to apply too much heat or pressure, as it can damage the yarn or backing.
Always test a small, inconspicuous area first to ensure that the heat doesn’t cause any discoloration or distortion.
By following these simple steps and properly caring for your latch hook rug, you can enjoy the beauty and durability of your handmade masterpiece for years to come. Rug finishing methods and rug hooking edge treatment are crucial in achieving a professional-looking result that will impress everyone who sees your stunning creation.
FAQ
How do I prepare my latch hook rug for binding?
To prepare your latch hook rug for binding, trim off any excess backing and create a clean edge. Measure and mark the desired width of the edge, make small clips along the marked line, and then cut away the excess backing.
Trim the corners at an angle to reduce bulk. Steam the rug to ensure it lays flat and press down any humped up areas for a smooth surface.
What techniques can I use to bind the edges of my latch hook rug?
One popular method is whip stitch. Start at one corner and sew through both layers of canvas using a tapestry needle and yarn or strong thread. Repeat the process along the entire edge, using the grid of the rug canvas for evenly spaced stitches. This creates a flexible and visually appealing edge.
How do I finish and care for my latch hook rug?
After binding the edges, trim any excess yarn for a neat finish. You can choose to trim the yarn evenly or leave some strands longer for a shaggy effect. Let your finished rug dry for at least 24 hours before storing it, and roll it up right side out to prevent stress or folding.
If needed, you can press the rug again after drying to smooth out any wrinkles or humped up areas. Proper care will ensure your latch hook rug lasts for years to come.


