Did you know that building your own glider chair can be a rewarding and fulfilling DIY project?
Not only does it allow you to unleash your creativity, but it also provides a sense of accomplishment when you relax in a chair you built with your own hands. If you’ve ever wanted to embark on a woodworking adventure, now is the perfect time to learn.
Whether you’re a seasoned woodworker or a beginner looking to tackle your first furniture project, this DIY glider chair guide has got you covered.
With the right materials, tools, and techniques, you’ll be able to create a beautiful and comfortable glider chair that you can enjoy for years to come. So, let’s dive in and discover the joy of crafting your own wooden glider chair!
Materials and Tools Needed
To build a glider chair from scratch, you will need a variety of materials and tools. Here’s a comprehensive list to help you get started:
Materials:
- Wood: Choose a durable and weather-resistant wood, such as cedar, for your glider chair.
- Carriage Bolts: These bolts will be used to secure different parts of the chair together.
- Galvanized Lock Nuts: These nuts will provide added strength and security to the joints of the chair.
- Exterior Grade Screws: Use these screws to fasten the components of the chair.
- Brad Nails: These nails can be utilized for attaching slats and other smaller pieces.
- Glider Hardware: This will allow the chair to glide smoothly.
- Finish (Optional): You have the option to apply a protective finish to the wood.
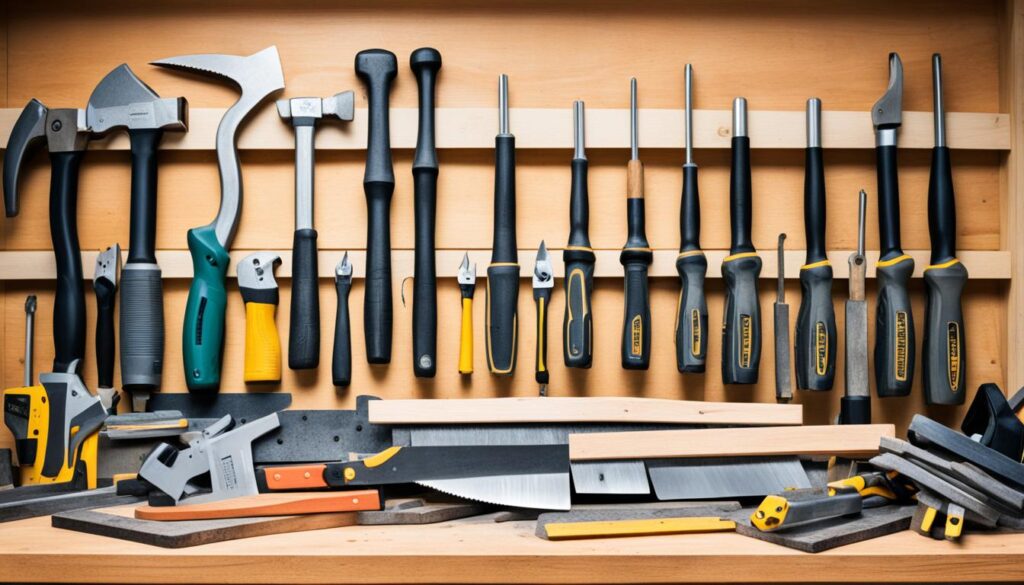
Tools:
- Table Saw: Use a table saw to make precise cuts on the wood.
- Band Saw: A band saw is handy for cutting out curved pieces.
- Router Table: This tool will help you round out the edges of the cut-outs.
- Speed Squarer: Ensure accurate measurements and angles with a speed squarer.
- Drill: A drill is essential for making holes and attaching various components.
- Belt Sander: Use a belt sander to smooth and shape the wood.
- Spindle Sander: This tool can be used to sand curved parts of the chair.
- Clamps: Clamps will come in handy for securing pieces together during assembly.
- Countersinks: These tools will create holes with countersinks for a clean finish.
- Roundover Bit: A roundover bit can be used to soften the edges of the wood.
- Miter Saw: Use a miter saw to make accurate angled cuts.
- Dowel: Dowels can be utilized for reinforcing joints or attaching smaller parts.
- Forstner Bit: This bit is ideal for drilling precise, flat-bottomed holes.
- Drill Press: A drill press provides accuracy and stability for drilling holes.
- Flush Cut Saw: Use a flush cut saw to trim dowels or other protruding parts.
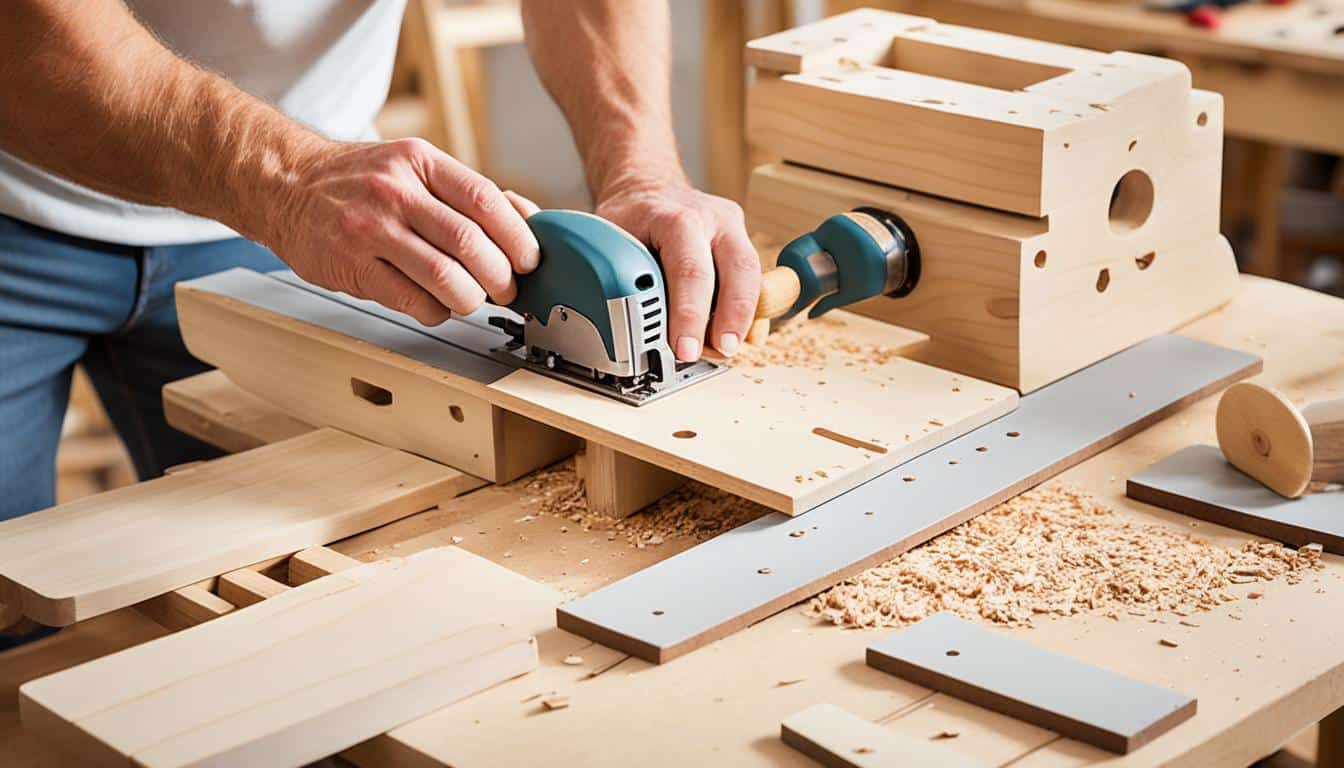
Having these materials and tools on hand will ensure that you have everything you need to successfully build your glider chair. Now that you have gathered all the necessary supplies, let’s move on to the next step: the construction process.
Finishing and Personalization
Once the glider chair is assembled, you have the option to apply a finish that not only protects the wood but also enhances its appearance. To achieve this, you can use a stain or oil specifically designed for outdoor use.
Applying a finish will ensure that your glider chair stands the test of time, even when exposed to the elements. If you prefer a more natural look, you can allow the wood to age naturally, which will give it a beautiful silver-gray color over time.
Adding cushions or pillows to your glider chair is an excellent way to personalize it and make it even more comfortable. Choose cushions that match your outdoor decor or that reflect your personal style.
Whether you prefer vibrant colors or neutral tones, this simple addition will provide an extra touch of coziness to your glider chair, making it the perfect spot for relaxation.
If you want to take your glider chair to the next level, you can consider adding extra features such as cup holders or storage compartments. Cup holders will come in handy when you want to enjoy a refreshing beverage while lounging in your chair.
Storage compartments can be used to keep your favorite books, magazines, or even outdoor essentials within reach. These additional features not only add functionality but also reflect your unique needs and lifestyle.
As you proceed with finishing and personalization, remember to prioritize safety at all times. Use appropriate measures when applying finishes to ensure proper ventilation and avoid any contact with harmful substances.
Additionally, refer to the glider chair building tutorial and woodworking plans mentioned earlier to ensure accurate and detailed instructions.
FAQs
How Difficult Is It To Build A Glider Chair From Scratch?
Building a glider chair from scratch can be a moderately challenging woodworking project. It requires basic woodworking skills, tools, and knowledge of joinery techniques.
What Type Of Wood Should I Use To Build A Glider Chair?
It is recommended to use a durable and weather-resistant wood such as cedar for building a glider chair. Cedar is known for its natural resistance to rot and insects, making it ideal for outdoor furniture.
Do I Need Specialized Tools To Build A Glider Chair?
Yes, building a glider chair requires a few specialized tools such as a table saw, band saw, router table, drill press, and a spindle sander. These tools will help you make precise cuts and create smooth surfaces.
Are There Any Safety Precautions I Should Consider While Building A Glider Chair?
Yes, safety should always be a priority when working with power tools and woodworking machinery. Make sure to wear appropriate safety gear, such as safety glasses and ear protection.
Follow the manufacturer’s instructions for each tool and use caution to avoid accidents.
Can I Personalize My Glider Chair?
Absolutely! Once your glider chair is built, you can personalize it by adding cushions, pillows, or decorative accessories. You can also choose to stain or paint the wood to match your personal style and outdoor decor.
Should I Apply A Finish To My Glider Chair?
Applying a finish to your glider chair is recommended to protect the wood from the elements and enhance its appearance. You can use a stain or outdoor-grade oil to bring out the natural beauty of the wood.
Alternatively, you can leave the wood untreated and let it age naturally, developing a silver-gray patina over time.
Can I Add Extra Features To My Glider Chair?
Yes, you can add extra features to your glider chair to enhance its functionality. Consider adding cup holders, a storage compartment, or even a built-in canopy for added convenience and comfort.