Did you know that frameless cabinets have become increasingly popular in modern kitchen designs, accounting for over 70% of installations?
Their sleek and seamless appearance adds a touch of sophistication to any space.
If you’re ready to embark on a DIY frameless cabinet installation project, this comprehensive guide will equip you with the knowledge and tips you need to ensure a successful outcome.
Tools and Materials Needed for Frameless Cabinet Installation
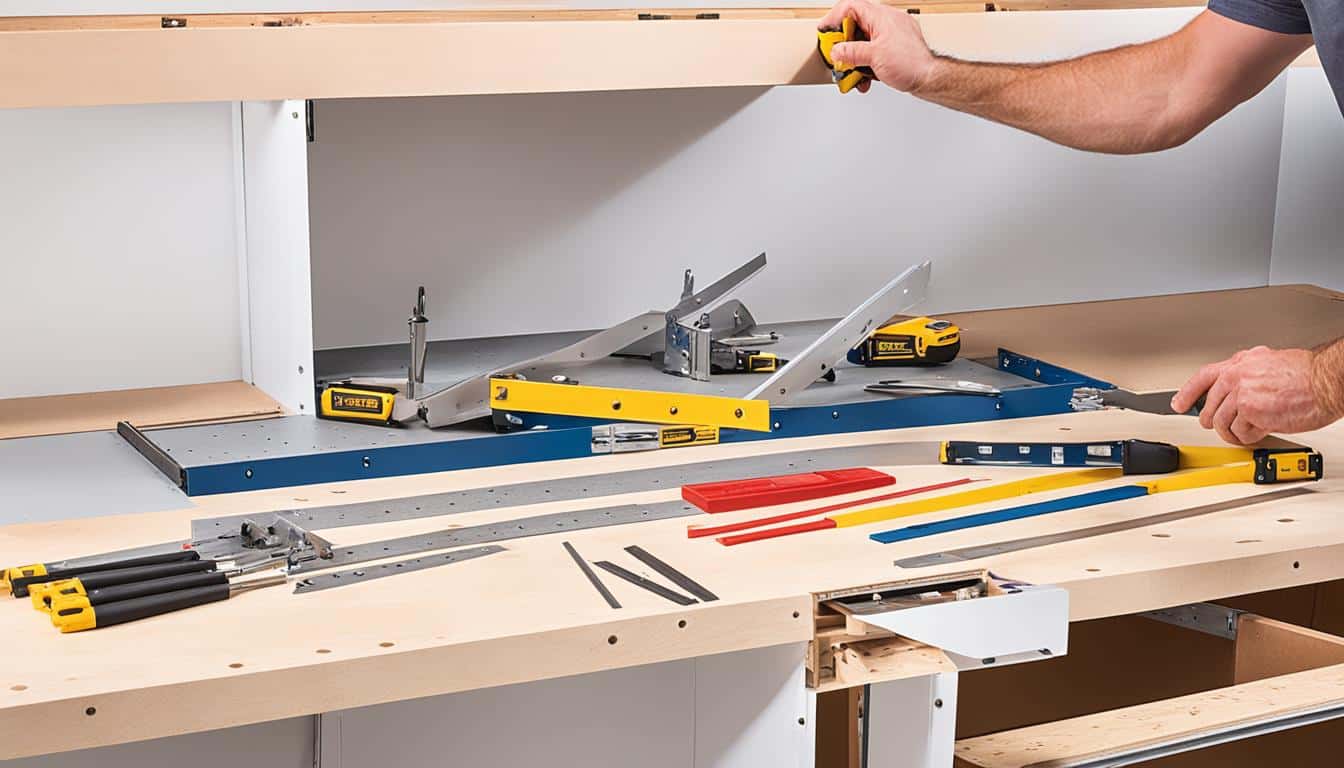
Installing modern frameless cabinets requires a comprehensive set of tools and materials to ensure a successful and professional installation. To achieve the best results, gather the following items before beginning the assembly process:
- Hammer or nail gun
- Screwdriver
- Levels
- Tape measure
- Pencil
- Drill
- Pry bar
- Clamps
- Stud finder
- Drill bits
- Wood screws
- Wood shims
- Miter saw
- Table saw
- Finishing nails
- Wax
Having these tools readily available ensures a smooth and efficient installation process.
For those without experience in carpentry work, it is advisable to seek the assistance of a professional carpenter or kitchen fitter to ensure precision and a polished end result.
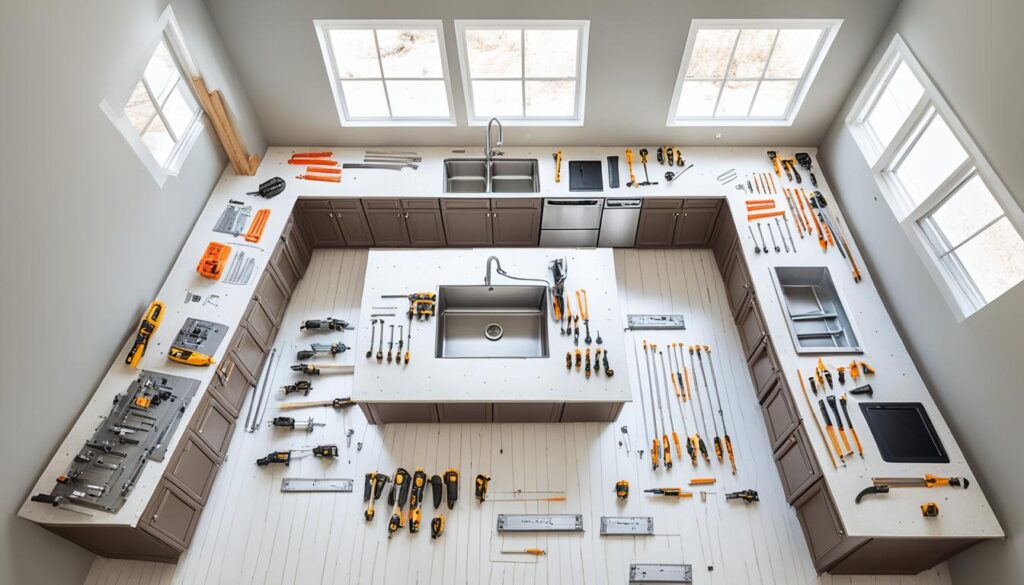
Step-by-Step Guide for Installing Frameless Cabinets
Installing frameless cabinets may seem like a daunting task, but with the right steps and proper guidance, it can be a straightforward process.
In this step-by-step guide, I will walk you through the process of installing frameless cabinets, ensuring a seamless and professional finish.
1. Mark the Cabinet Position and Check for Hidden Cables or Pipes
Before installing the cabinets, it’s crucial to mark their positions on the wall. Use a pencil to make clear, visible marks.
Additionally, use a stud finder to locate any hidden cables or pipes in the wall that may interfere with the installation process.
2. Level and Secure the Bottom of the Cabinet
Place the bottom of the cabinet towards the wall and use a wedge to check if it is level. Adjust as necessary for proper alignment. Once level, drill through the toe kick and secure the cabinet to the floor for stability.
3. Fix the Cabinet Rail and Secure it to the Wall
Attach the cabinet rail at the back of the cabinet using screws. Ensure it is firmly fixed and aligned. Then, secure the cabinet to the wall by screwing it into the wall studs. This will provide additional stability and support.
4. Install Doors and Drawers
Now it’s time to install the doors and drawers of your frameless cabinets. Use the provided brackets and follow the manufacturer’s instructions for proper installation.
Take your time to ensure they are aligned and functioning smoothly.
5. Repeat for Each Cabinet, Ensuring Alignment and Leveling
Repeat the previous steps for each cabinet, ensuring that they are properly aligned and leveled. Pay attention to detail to achieve a seamless look across all cabinets.
6. Install Shelves After Cabinets Are in Place
Once all cabinets are installed, it’s time to install the shelves. This will help avoid any accidental damage that could occur during the installation process. Adjust the shelves to your desired heights, ensuring they are level and secure.
7. Installing Upper Cabinets
For upper cabinets, mark their locations on the wall and check for level. Use props and ask for assistance from a helper to hold the cabinet in place. This will make the installation process easier and more efficient.
8. Secure Upper Cabinets to the Wall
Once the upper cabinet is in position, secure it to the wall by screwing it through the back rail into the wall studs.
For additional stability, add screws underneath the cabinet. Double-check the alignment and make any necessary adjustments.
9. Install Shelves and Doors to Complete the Installation
Finally, install the shelves and doors of the upper cabinets to complete the installation process. Ensure they are properly aligned, functioning correctly, and add any finishing touches as desired.
By following this step-by-step guide for installing frameless cabinets, you can achieve a professional and polished result.
Take your time, pay attention to detail, and enjoy the satisfaction of completing a DIY project that enhances the aesthetic and functionality of your space.
Tips and Considerations for Frameless Cabinet Installation
When it comes to installing frameless cabinets, paying attention to detail is key. Here are some important tips and considerations to keep in mind for a successful installation:
- Double-check measurements: Before starting the installation process, it’s crucial to double-check all measurements and compare them to the shop drawings. This ensures that the cabinets are built accurately and will fit perfectly.
- Verify wall alignment: Before installing the cabinets, make sure the walls are plumb and level. This step is vital for ensuring that the cabinets align properly and look visually appealing.
- Use shims for alignment: To achieve proper alignment and leveling of the cabinets, use shims as necessary. This helps in adjusting any unevenness and ensures a seamless installation.
- Install upper cabinets first: For easier assembly, it is recommended to install the upper cabinets before the base cabinets. This allows for a smoother workflow and prevents any potential issues during installation.
- Focus on the cabinet box: Prioritize installing the cabinet box before adding doors and drawers. This ensures stability and allows for easier adjustments if needed.
- Consider hiring a professional: If you’re uncertain or lack experience in cabinet installation, it’s always a good idea to hire a professional fitter. They have the expertise to handle the job and ensure a flawless installation.
- Practice safety measures: When using power tools, always exercise caution and follow safety guidelines to prevent any accidents. Wear appropriate protective gear and take necessary precautions to ensure a safe working environment.
- Take your time: Installing frameless cabinets requires precision and attention to detail. Take your time throughout the process, paying close attention to every step. By doing so, you’ll achieve a professional-looking installation that you can be proud of.
By following these tips and considerations, you’ll be well-prepared to tackle the installation of frameless cabinets with confidence and achieve a beautiful and functional end result.
FAQs
What Should I Do Before Starting The Installation Of Frameless Cabinets?
Before starting the installation process, it is important to ensure that the walls are plumb and level. Measure the high spot on the wall and mark a level line at 34-3/4 inches, which will serve as the reference point for installing the cabinets.
It is recommended to do a comprehensive layout of the cabinets before putting anything in place to ensure that they are in the right spot and properly aligned.
What Tools And Materials Do I Need For Installing Frameless Cabinets?
To install frameless cabinets, you will need a variety of tools and materials.
These include a hammer or nail gun, screwdriver, levels, tape measure, pencil, drill, pry bar, clamps, stud finder, drill bits, wood screws, wood shims, miter saw, table saw, finishing nails, and wax.
It is important to have the necessary tools on hand to ensure a smooth installation process.
Additionally, it is recommended to have a professional carpenter or kitchen fitter assist with the installation if you are not experienced in carpentry work.
What Are The Step-By-Step Instructions For Installing Frameless Cabinets?
Follow these steps for installing frameless cabinets: mark the cabinet position on the wall, check for hidden cables or pipes, move the bottom of the cabinet towards the wall and check for level, fix the cabinet rail at the back of the cabinet and secure it to the wall, install the doors and drawers using the provided brackets.
Repeat these steps for each cabinet, ensuring proper alignment and leveling, install shelves after the cabinets are in place to avoid damage.
For upper cabinets, mark the location on the wall, check for level, and use props and a helper to hold the cabinet in place, screw the cabinet to the wall through the back rail and add screws underneath for stability, install shelves and doors to complete the installation.
What Are Some Tips And Considerations For Installing Frameless Cabinets?
Here are some additional tips and considerations for installing frameless cabinets.
Double-check all measurements and compare them to the shop drawings before the cabinets are built, verify that the walls are plumb and level before installing the cabinets, use shims as necessary to ensure proper alignment and leveling of the cabinets.
Install upper cabinets before base cabinets for easier assembly, focus on the cabinet box first before installing doors and drawers, if in doubt, hire a professional fitter to ensure a seamless installation.
Use caution and follow safety guidelines when using power tools, take your time and pay attention to detail to achieve a professional-looking installation.