If you’re a vinyl lover and want a custom storage solution to showcase your collection, this DIY guide will show you how to make record shelves easily.
You don’t need any previous experience with power tools to successfully complete this project.
With just a few supplies and tools, you can create functional and attractive record shelves at an affordable cost.
The materials required include 1×2 and 1×3 wood strips, wood glue, stain, panel board nails, wood screws, foam paint brushes, rags, disposable gloves, and an electric drill.
The step-by-step instructions involve sanding the wood pieces, attaching the 1×2 and 1×3 strips together with glue and screws, staining the shelves, and hanging them on the wall.
These record shelves provide easy access to your vinyl collection and can be easily customized to fit different sizes and styles of shelves.
Ready to get started? Let’s dive into the details of making your own record shelves!
Unique DIY Vinyl Record Shelf from Plywood
If you’re looking for a unique and modern DIY vinyl record shelf, I’ll guide you through building one from a single sheet of plywood. This design can hold around 500 records and can also be used for books or other display items.
To start, you’ll need plywood, wood dowels, wood screws, wood glue, and edge banding (optional). With these materials on hand, you can easily create the necessary pieces.
I’ve provided the dimensions and cut list to make the process even simpler.
The assembly involves using wood glue and screws to join the shelf pieces together. To give the finished product a clean look, you can add dowels to hide the screw holes. Finally, attach the back panel to complete the structure.
If you prefer mobility, you can add casters to the bottom of the shelf. This will allow you to easily move it around when needed.
When it comes to finishing touches, you have options. You can choose to stain the plywood, giving it a polished appearance. Alternatively, you can leave the plywood bare and apply a protective finish.
This DIY vinyl record shelf is not only a cost-effective storage solution, but it’s also visually appealing.
Whether you want to showcase your record collection or organize your books, this homemade LP shelf will add a touch of uniqueness to any space.
Tips and Lessons Learned from Building Record Shelves
Building record shelves can be a rewarding project, especially if you’re a vinyl collector looking for a custom storage solution. Throughout the process, I’ve learned some valuable tips that I’d like to share with you.
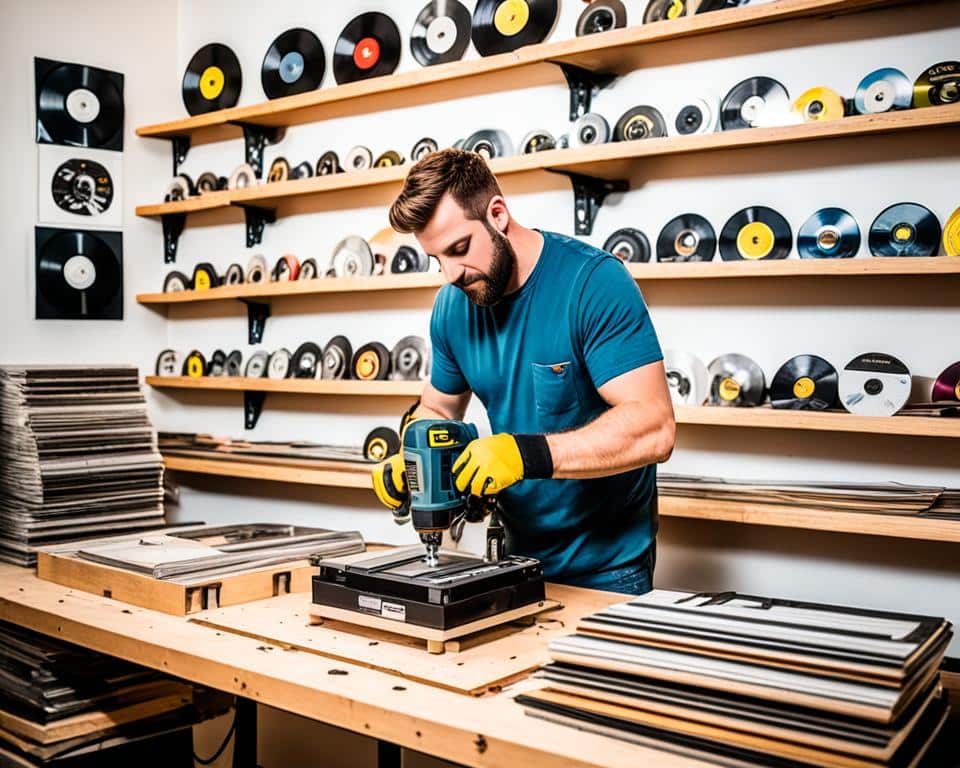
First and foremost, it’s best to avoid getting your plywood cut at the store. Their cutting tools may not produce clean and accurate cuts, which can affect the overall quality of your shelves.
Instead, consider using a table saw or borrowing one to achieve precise cuts that meet your specific measurements.
Incorporating casters into your design is also a smart move. These wheels will make it much easier to move your record shelves once they are filled with your valuable vinyl collection.
Whether you want to rearrange your space or clean the floor, having the flexibility to roll your shelves effortlessly is a game-changer.
When it comes to creating a professional finish, using a counter sink or pocket hole jig is highly recommended.
These tools will help you hide those unsightly screw heads and give your record shelves a clean and polished look.
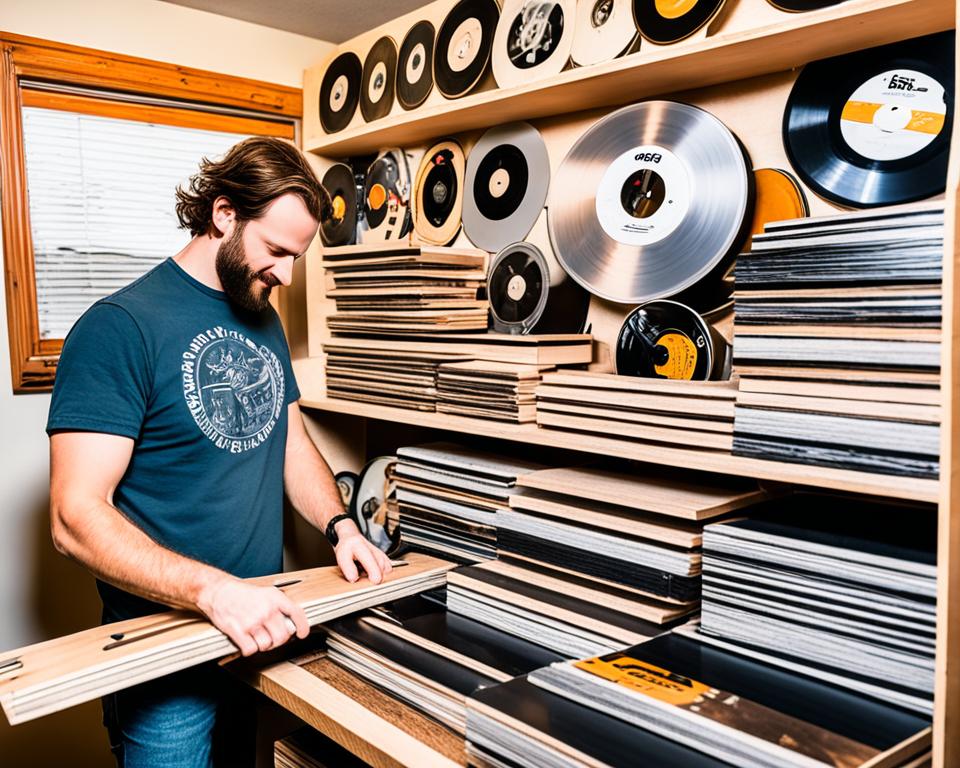
Additionally, consider adding supports for each shelf to provide extra stability, ensuring they can handle the weight of your records without sagging.
Measurements matter! Taking careful measurements and ensuring a precise fit for the top shelf is crucial for achieving a visually appealing result.
This step will give your record shelves a clean and seamless look, making them a standout feature in your space. And don’t forget, personalization is key!
Consider adding stickers or decorative touches that reflect your individual style and taste.
Lastly, don’t hesitate to enhance the functionality and aesthetic of your record shelves. Add LED lights to create a cozy atmosphere and make selecting a record even more enjoyable.
Invest in record dividers to keep your collection organized and easy to navigate. These small details can truly elevate your custom record storage design and enrich your vinyl collecting experience.
By following these tips and lessons learned from my own record shelf construction journey, you’ll be well-equipped to build a custom storage solution that not only showcases your vinyl collection but also meets your specific needs and preferences. Happy woodworking!
FAQ
What Supplies Do I Need To Make Record Shelves?
The supplies you need to make record shelves include 1×2 and 1×3 wood strips, wood glue, stain, panel board nails, wood screws, foam paint brushes, rags, disposable gloves, and an electric drill.
How Do I Build A Record Shelf From Plywood?
To build a record shelf from plywood, you will need plywood, wood dowels, wood screws, wood glue, and edge banding (optional).
Cut the plywood into the necessary pieces according to the provided dimensions and cut list. Join the shelf pieces together using wood glue and screws, add dowels to hide the screw holes, and attach the back panel.
Optional casters can be added for mobility, and you can choose to stain or leave the plywood bare and apply a protective finish.
What Are Some Tips For Building Record Shelves?
Some tips for building record shelves include avoiding getting your plywood cut at the store for cleaner cuts, using a table saw for precise cuts, including casters for easy mobility, using a counter sink or pocket hole jig to hide screw heads, adding supports for extra stability, taking careful measurements for a precise fit, decorating shelves with stickers for a personal touch, and enhancing functionality with LED lights and record dividers.