Cabinets are a big investment, and like all investments, they require occasional maintenance to keep them looking their fresh. Many wonder how to repaint cabinets to give them a fresh look without spending a lot of money.
You might want to paint kitchen cabinets for many reasons. For example, the paint could be chipping or peeling, or the color may have grown dull.
Also, you might simply prefer a new look for your kitchen, which you can get by choosing a different color or finish. Luckily, this is an easy project that won’t take more than a few days.
It is important to note, however, that not all cabinets are created equal. If your cabinets are made from solid wood, they will be much more difficult to paint than those made from particleboard or other types of manufactured materials.
In addition, if your cabinets have been previously painted or stained, it may be difficult or impossible to achieve good results with another coat of paint.
In these cases, it may be better to hire a professional painter who will have the experience and tools necessary to get the job done right
How to Repaint cabinets?
1. Clean the cabinets thoroughly and remove all hardware
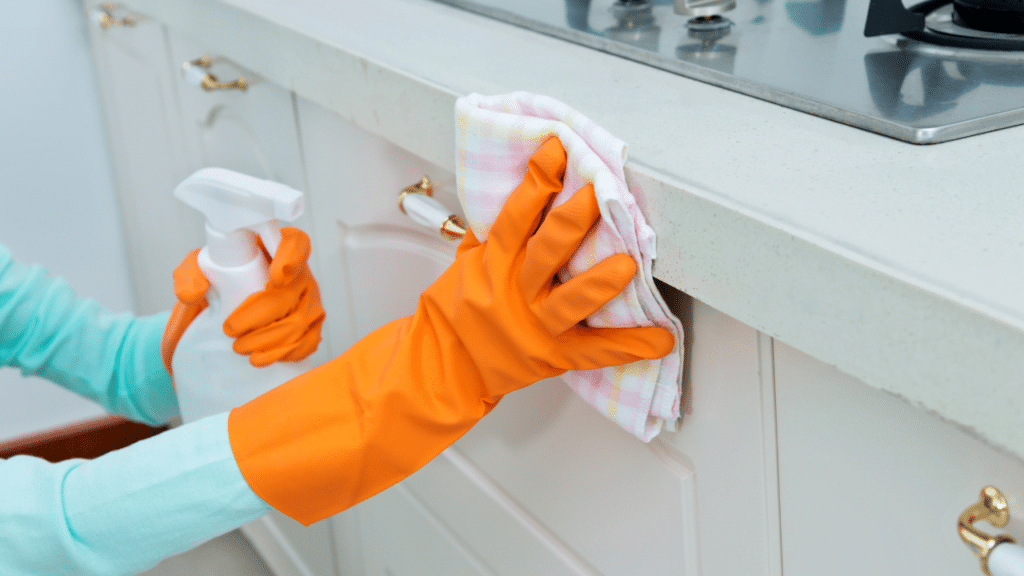
Before painting cabinets, it’s important to clean them thoroughly. This means removing all the dirt, dust, and grease that has built up over time. Wipe down the cabinets with a damp cloth and then dry them completely.
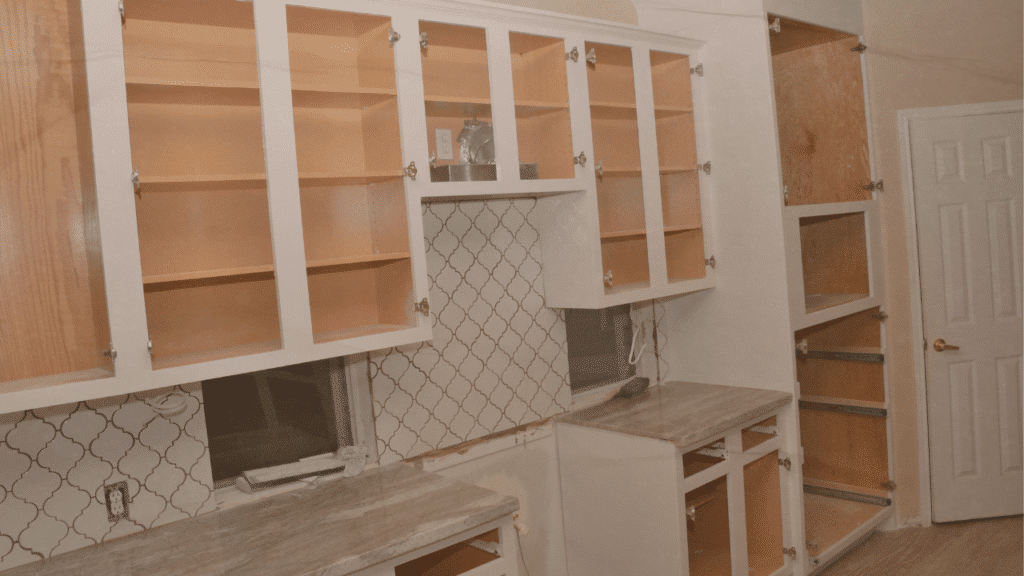
If your cabinets can be disassembled, you will need to take them apart before sanding and painting them. This can be difficult if you don’t have the right tools. You will need a screwdriver, a hammer, a drill, and an adjustable wrench.
Start by removing hardware and cabinet doors. Then remove the screws from the cabinet frames with a screwdriver. If there are any hinges or brackets attached, remove these as well. Be careful not to damage any of the parts while taking them apart.
2. Sand the cabinets down to remove any peeling paint or dirt
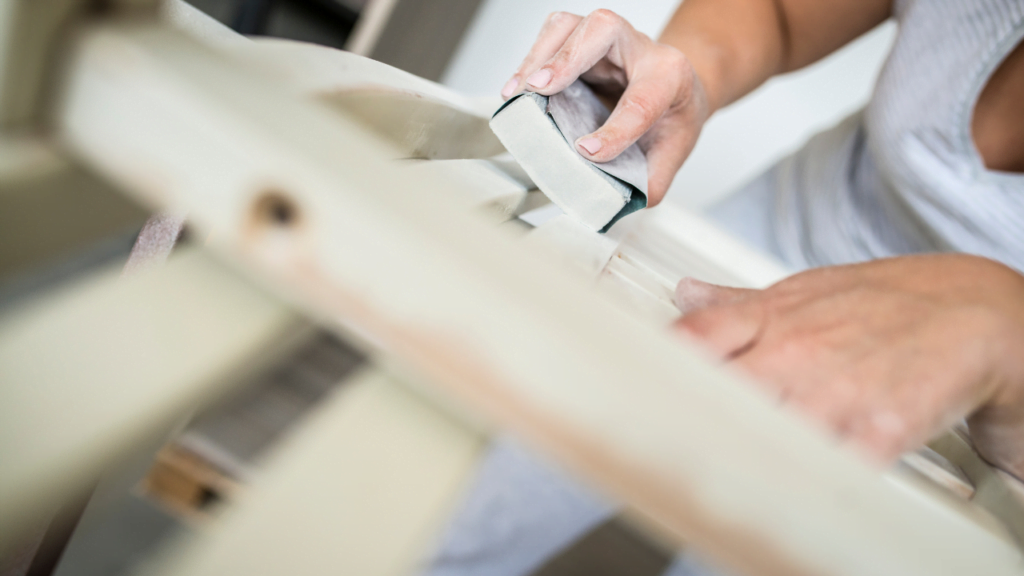
When sanding down kitchen cabinets for painting, it’s important to use the right type of sandpaper for the type of wood you’re working with.
For example, if you’re using fine-grit sandpaper on oak, you’ll likely end up with scratches in the wood. Here’s a guide on how to use different types of sandpaper on cabinets:
- For light cleaning or removing dirt and peeling paint, use 150-grit sandpaper.
- To remove old paint or finish and prepare the surface for painting, use 180-grit sandpaper.
- To achieve a smooth finish, use 220-grit sandpaper.
- For finishing or buffing (e.g., after priming), use a very fine grit like 320 or 400 grit.
In general, it’s best to start with a course grit (like 80 or 120) and then switch to a finer grit if needed – this will help prevent scratches in the wood. Sandpaper should be applied in gentle circles when working on curved surfaces like cabinets.
3. Coat the cabinets with a good-quality primer
When painting kitchen cabinets, it’s important to use a primer that will seal and work as wood filler to provide a smooth surface for the paint to adhere to. There are a few different types of primers that can be used, depending on the type of wood you’re working with:
- Oil based primers are great for cabinets made from natural woods like oak, maple, or cherry. They seal the wood, provide a good surface for painting, and help prevent staining.
- Latex-based primers are good for cabinets made from plywood or composite materials. They’re easy to apply and dry quickly, and they also resist fading and peeling.
- Shellac-based primers are best for unfinished wood cabinets(Not any color or coating applied before), color was applied before, as they form a protective barrier that helps to prevent moisture damage.
When applying primer, be sure to use a brush or roller to get an even coat. The primer should be applied in thin layers for at least two coats and it’s important to allow plenty of time between coats for the primer to dry completely.
To ensure a smooth finish on your cabinets it’s also important to take care when sanding and wiping down the surface before painting. Sand lightly in circular motions and allow each layer to dry completely before applying the next.
Note: Test the primer on a small, hidden area of the cabinet. This will help you to see if there is any color change or other problem like before you use it on the whole cabinet.
4. Paint the cabinet with a high-quality paint in your desired color and finish
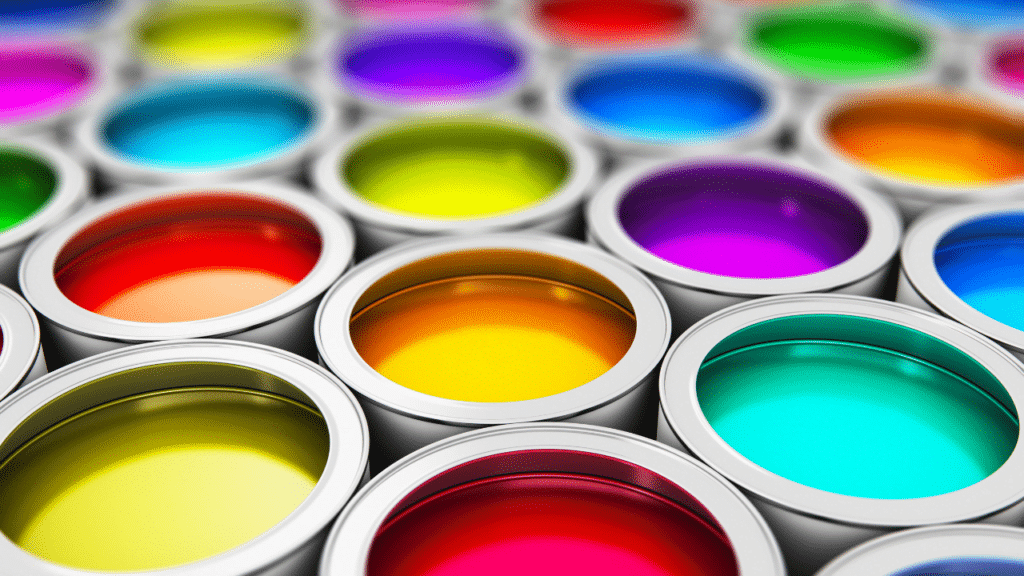
To paint cabinets, you will also need to gather your supplies. This includes a tape measure, painter’s tape, primer, paint, a brush, and a roller. You will also need to decide on a color. Some colors are more likely to look good than others.
- Warm colors like red, orange, and yellow are generally cheerful and can make a small space feel larger. Cool colors like blue and green can be calming and can make a space feel more spacious.
- Neutral colors like beige or black can be used in any room and will not clash with any other colors in the room.
Once you have decided on a color, it is important to choose high-quality paint. This will give your cabinets a better finish. Look for paints that are labeled as “high gloss” or “ultra gloss.” These paints will give your cabinets a shiny finish that is sure to impress.
Some other types of paints include latex, acrylic, and oil-based paint.
- Latex Paint: Latex paints are generally the most affordable and are easy to use. They also have low emissions, meaning they are less harmful to the environment.
- Acrylic Paint: Acrylic paints are more durable than latex paints and are better at resisting fading in sunlight. However, they can be more expensive than latex paints.
- Oil paint: Oil paints are the most durable but also the most expensive. They also require more maintenance than latex or acrylic paints like regular cleaning and recoating.
Wet and spray paint are also options for painting your cabinets, although these methods can be more difficult and less precise.
Other factors to consider when choosing paint are the drying time and the number of coats required. Good quality paint will dry quickly and require only 1-2 coats for full coverage.
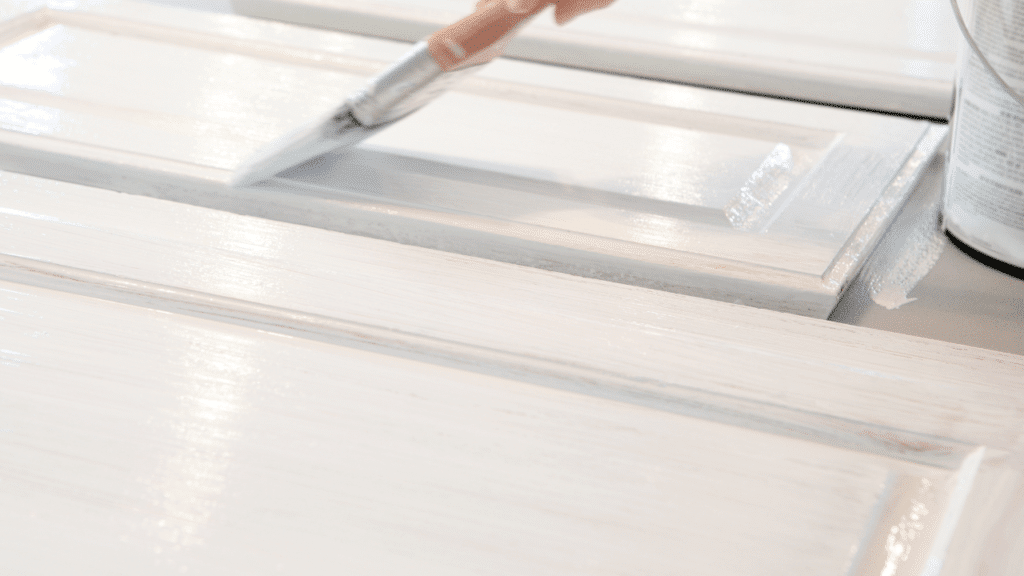
5. Apply Paint On the Cabinet
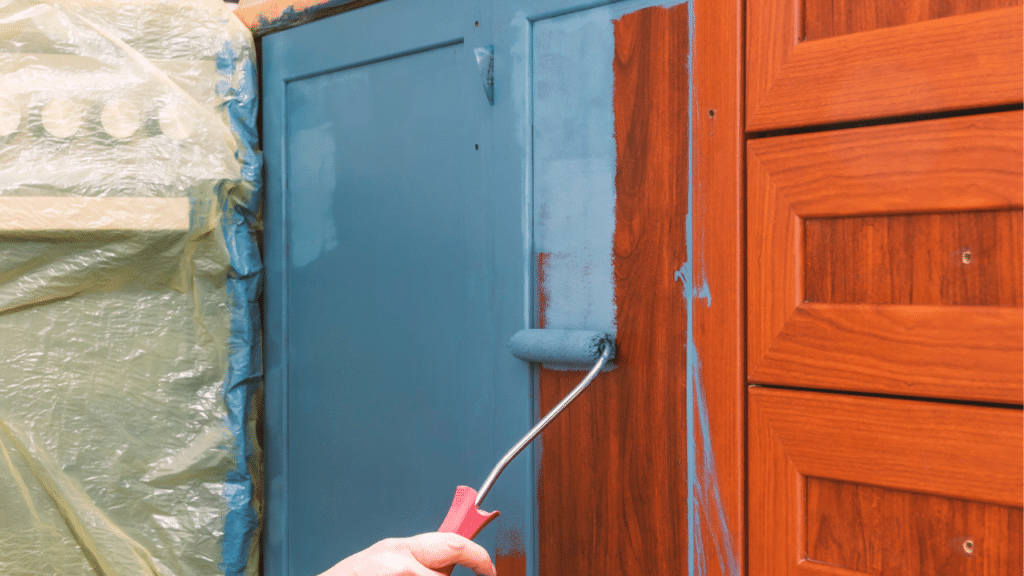
Start applying paint to your cabinets using a high-quality paintbrush or roller. Be sure to use long, even strokes and work in small sections for the best results.
Let the paint dry completely before applying a second coat if needed, and wipe away any drips or splatters as soon as they occur.
After the second coat, let it sit for at least 24 hours to ensure that the paint is fully dry.
6. Care Guide After Finishing Painting Cabinets
After painting your cabinets, it is important to take care of them properly in order to keep the paint looking its best. Here are a few tips:
- Wipe away any spills or messes as soon as they occur.
- Never use harsh chemicals or cleaning products on painted cabinets.
- Use a soft cloth and some warm water to clean the cabinets regularly.
- Avoid using high heat in the kitchen, as this can damage the paint.
Do I need to sand the cabinets before painting?
You don’t technically have to sand cabinets before painting them, but it is recommended in order to create a smooth surface for the paint to adhere to.
Sanding will also help to remove any dirt or debris that may be on the surface of the cabinets. If you choose not to sand, be sure to clean the surfaces thoroughly before painting.
Can you just paint over cabinets?
You can, but it is not recommended. Why?
Well, If your cabinets is already painted and need new painting for fresh clothing. Then you definitely need to sand previous paint. This way you cabinet will bear lesser weight of paint, new paint would stuck more firmly and sand paper will smooth out all up and downs.
The Bottom Line
Painting kitchen cabinets can be a daunting task, but if you follow the proper steps and use high-quality supplies, you can achieve great results. Choose a color that will brighten up your kitchen and make it look more spacious.
Be sure to use a primer and two coats of paint for the best results. Finally, take care of your newly painted kitchen cabinets by wiping away any spills or messes with tack cloth as soon as they occur and avoiding harsh chemicals or cleaning products.
For More, Checkout Our Guides On;
19 Types Of Woods You Should Know About