Did you know that small holes in cane chairs are a common problem faced by many homeowners? Whether it’s due to wear and tear, accidents, or even pet damage, these holes can be an eyesore and compromise the integrity of the chair.
But here’s the good news: fixing a small hole in a cane chair is easier than you think. With a few simple tools and some replacement cane webbing, you can restore your cherished chair to its former glory.
In this DIY guide, I will walk you through the step-by-step process of fixing a small hole in a cane chair, from removing the old cane to attaching the new webbing.
Get ready to learn how to fix a small hole in a cane chair and embark on an exciting journey of DIY cane chair repair!
Gather the Necessary Tools and Materials
Before you begin the repair process, it’s essential to gather all the necessary tools and materials for fixing your cane chair. Having everything ready will ensure a smooth and efficient repair experience. Here are the tools and supplies you’ll need:
- Hammer: A hammer will come in handy for various tasks, such as removing the old cane and securing the new webbing.
- Flathead Screwdriver or Small Chisel: You’ll need a flathead screwdriver or small chisel to help remove the old spline and loosen any glue.
- Box Cutter: A box cutter is essential for cutting the spline and trimming the new cane webbing.
- Scissors: Scissors will be useful for various tasks, including cutting the new webbing to size.
- Wood Glue: Wood glue is necessary for securing the new cane webbing to the chair frame.
- Pliers: Pliers will be handy for gripping and pulling the old spline out of the chair frame.
- Replacement Cane Webbing: You’ll need to purchase replacement cane webbing that matches the hole sizes of your existing cane chair. You can easily find this online.
Once you have gathered all the tools and materials mentioned above, you’re ready to start repairing your cane chair and bringing it back to its former glory.

Remove the Old Cane and Prepare the Chair
In order to repair a small hole in your cane chair, the first step is to remove the old cane and properly prepare the chair for the repair process. This involves careful removal of the existing cane and cleaning the chair frame for optimal results.
Removing the Old Cane
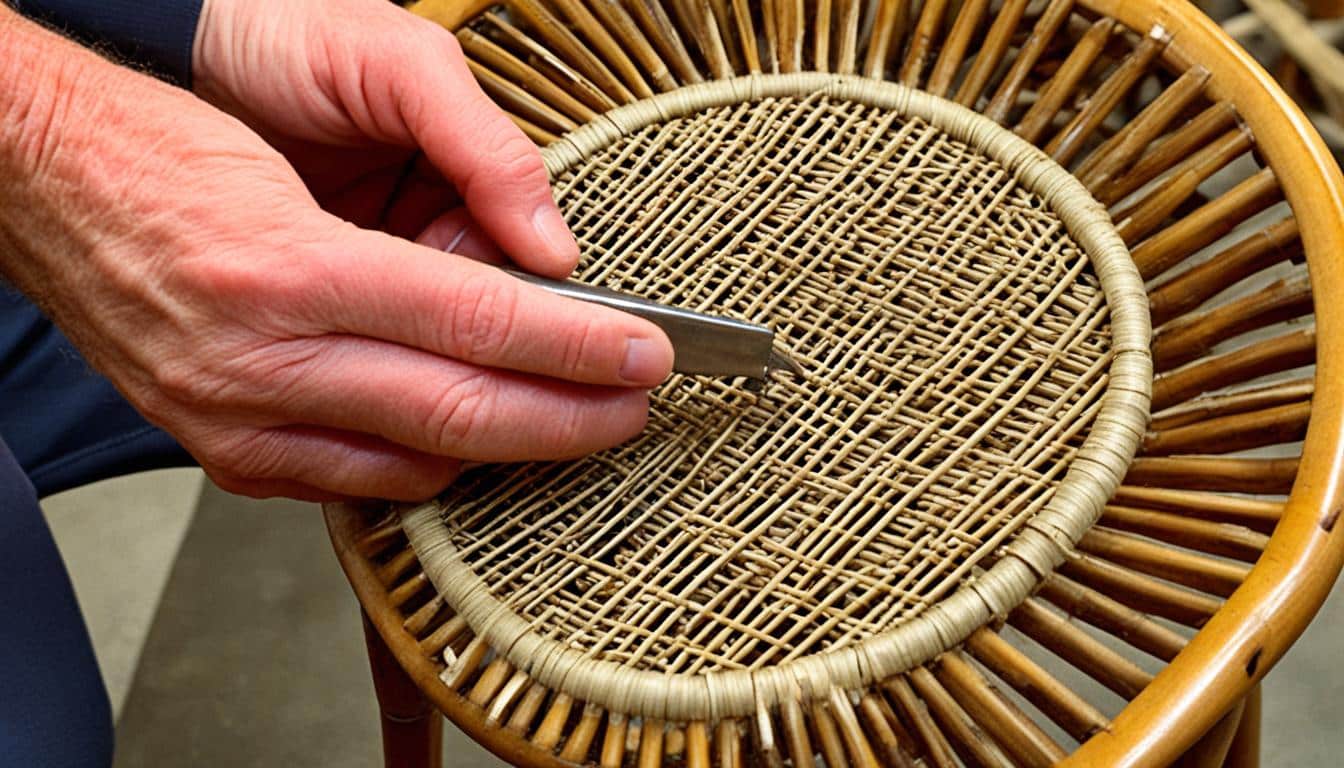
To begin, use a box cutter to carefully cut both sides of the spline that holds the cane in place. This will loosen the glue and make it easier to remove the old cane. Take your time and work from the center of the chair outward to avoid damaging the frame.
Next, use a flathead screwdriver or small chisel to gently pry out the old spline from the groove. This might require some effort, but patience is key to avoid causing any unnecessary damage to the chair frame.

Preparing the Chair
Once the old cane has been removed, it’s important to prepare the chair frame for the repair process. Start by inspecting the frame for any loose or damaged areas. If you notice any issues, use wood glue and clamps to secure and reinforce the joints.
Additionally, take the time to thoroughly clean the chair frame. Remove any dust, dirt, or debris using a soft brush or cloth. This will ensure a clean surface for attaching the new cane webbing and help to achieve a professional-looking repair.
Attach the New Cane and Finish the Repair
Now that you’ve removed the old cane, it’s time to attach the new cane webbing to your chair and add those finishing touches. Here’s how:
1. Soak the replacement cane seat in lukewarm water for about 20-30 minutes. This will make it more pliable and easier to work with.
2. Once the cane is ready, place it on top of the chair, aligning it properly. Make sure to leave a 1/2 to 1 inch overhang on all sides for a clean and secure fit.
3. To secure the cane webbing in place, use wedges. Insert the wedges into the groove between the cane and the chair frame, starting from the center and working your way towards the edges. This will help to hold the cane firmly in place.
4. Once the cane is securely attached, let it dry completely before using your chair. This will ensure that the new cane seat is properly set and won’t shift or come loose.
With the new cane webbing in place and the finishing touches complete, your chair is now ready to be enjoyed once again. Sit back, relax, and admire your handiwork, knowing that you’ve successfully repaired your cane chair and given it a fresh new look.
FAQs
Is Fixing A Small Hole In A Cane Chair Difficult?
No, it’s actually quite easy with the right tools and materials. Follow our step-by-step guide for a simple DIY fix.
What Tools And Materials Do I Need For Repairing A Cane Chair?
You will need a hammer, a flathead screwdriver or small chisel, a box cutter, scissors, wood glue, pliers, and replacement cane webbing.
Where Can I Find Replacement Cane Webbing For My Chair?
You can easily find replacement cane webbing online. Look for a supplier that offers sizes that match the hole sizes in your existing cane chair.
How Do I Remove The Old Cane From The Chair?
Use a box cutter to cut both sides of the spline and then use a flathead screwdriver or small chisel to carefully remove the old spline.
How Do I Attach The New Cane Webbing To The Chair?
Soak the replacement seat in lukewarm water for 20-30 minutes to make it more pliable. Then, place it on top of the chair, align it properly, and leave a 1/2 to 1 inch overhang on all sides.
How Do I Secure The New Cane Webbing To The Chair?
Place wooden wedges along the edge of the seat to secure the cane webbing in place. Use pliers to pull the wedges tightly to ensure a secure fit.